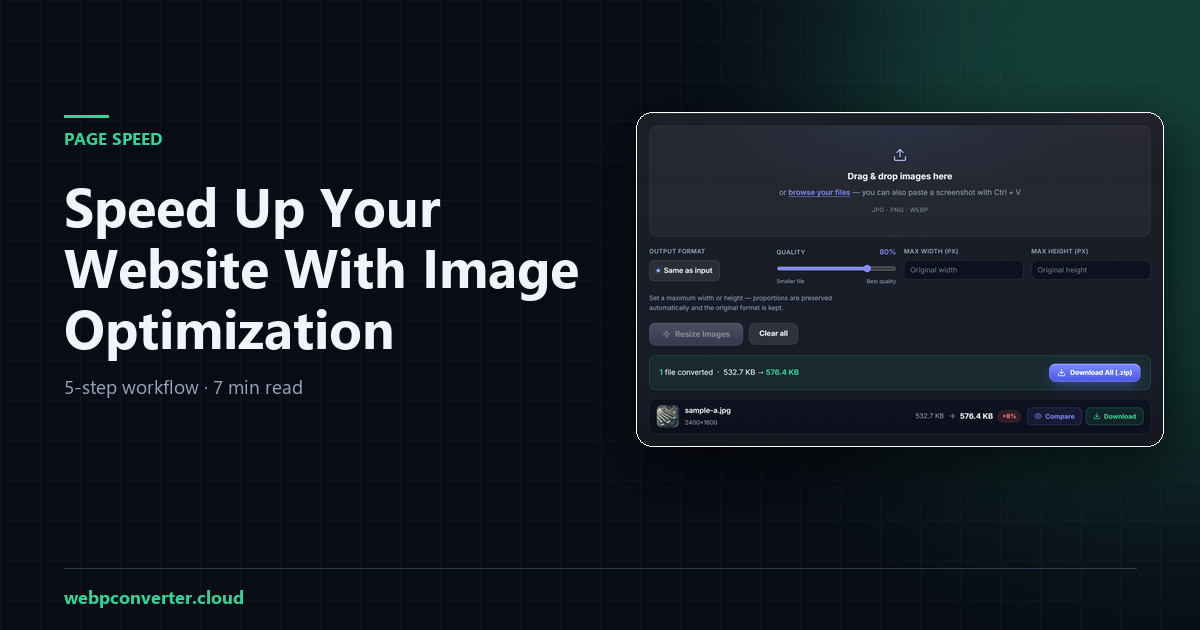
A slow website quietly costs you visitors and rankings. Google has confirmed page speed as a ranking factor, and research consistently shows that every extra second of load time increases bounce rate. The usual culprit? Heavy, unoptimized images. Here is a simple five-step workflow to fix that.
Step 1: Convert your images to WebP
Start with the biggest win. Converting JPG and PNG images to WebP typically cuts 25-35% of the file size with no visible difference. Use the free JPG to WebP converter — batch processing and ZIP download are built in.
Step 2: Resize images to their real display size
Uploading a 4000-pixel-wide photo to display at 800 pixels wastes bandwidth. Use the Image Resizer to cap the maximum width before uploading — the proportions stay locked automatically.
Step 3: Compress what remains
A quality setting of 75-85 is visually identical to the original for most photos, and thumbnails can go even lower. Use the Image Compressor to shrink files without changing their format.
Step 4: Serve a fallback and lazy-load
Serve WebP with a JPG fallback, and ask the browser to load images only when they are about to scroll into view:
<picture>
  <source srcset='photo.webp' type='image/webp'>
  <img src='photo.jpg' alt='Describe the photo' width='800' height='600' loading='lazy'>
</picture>
Step 5: Measure the results
Run your pages through Google PageSpeed Insights before and after. Most sites that complete this workflow see their total image weight drop by half or more — and their Largest Contentful Paint (LCP) score improve noticeably.
The takeaway
Image optimization is the rare SEO task that is fast, free and permanent. Convert, resize, compress, lazy-load — then enjoy the faster rankings.